Have a Question?
If you do not find in the F.A.Q the answer to your question, please feel free to contact us
General Questions
Both the Basic and Deluxe Versions have the ability to create No-Sew Templates and Repeatable Swatches. However, the Deluxe Version also has the ability to “Create Your Own” Designs. In addition, it contains many additional Templates, Background Patterns and Repeatable Swatches (see differences on Home Page).
Currently there is no upgrade from easyFab Basic to easyFab Deluxe. Please contact us directly and we will be happy to give you a discounted rate on the easyFab Design Studio Deluxe.
We have added 10 optional libraries that can be purchased for both the Basic and Deluxe versions of our software. They are $19.95 each, and are available for purchase through our Shop on our site.
They range from Photo Blocks to new Fabric Collections to Family Gatherings and much more!
Make sure you purchase the libraries for easyFab Design Software.
For installing optional libraries see comments under Installation.
You can import .jpg, .png and .bmp files.
There is no limit as to the size for importing your photo into the program.
It is best if you have a large image and are only going to use part of it, first crop it in another program or on your phone camera before importing it into the program.
The higher the better, but we recommend at least 150 DPI.
Our program is 300 DPI, so if you have a low resolution image (72, 96 or 150 DPI), when you import it into the software it automatically brings your image up to 300 DPI. This may cause you to have a smaller image to work with within your project.
These are pretreated fabrics, backed with removable wax paper, that are designed to hold the ink from inkjet printers (not laser printers). Many different products are available on the market, and the qualities vary widely. We choose to carry only Threads Inkjet Printable Fabrics.
Each company that manufactures this product has their own formula, and we believe that Threads is the best. They have many different types of fabrics, they are washable, the colors are very vivid, they are set once they dry, and we really love the hand of the fabrics. We carry them in both sheets and rolls in our Shop, so check it out.
Toggle content goes here, click edit button to change this text.
You will be printing your finished projects onto your Inkjet Printable Fabric Sheets or Rolls, then use them in your projects.
We do carry wide format rolls, but you are limited to the width of your printer.
Click on PDF for help on “Printing on Inkjet Fabric Rolls”
Click on PDF on “How to Flatten Fabric Sheets that Curl”
Click on PDF to learn how to “Print on Wide-Format Rolls”
Information for “Rinsing Your Fabric Sheets with Fabric Softener“
Suggestions on How to Wash Your Threads Inkjet Printables
Click on PDF to find out how to use “Fabric Protectors” with Threads Inkjet Printables.
Learn which Threads Fabrics Shrink the most by clicking on PDF.
Installation of Software
You will be prompted to register your software during the checkout process. You can also go to My Account to register.
Step by step instructions for Installing easyFab Design Studio for both Deluxe and Basic Versions. Plus Library Installation included in handout. Installation Instructions for WINDOWS handout
Installation Instructions for MAC Computers, plus additional instructions for installing Libraries. Installation Instructions for MAC handout
1) Download software to your computer.
2) Unzip file on your desktop
3) Double click on easyFab.dmg
4) Terms and Conditions will appear, and you will need to click on the accept button
5) On your main screen an easyFab icon will appear
6) Drag easyFab.dmg icon into the application folder
7) Go to application folder and find easyFab icon
8) Right click on easyFab.app and then click on open
9) It will show you a security message most times (you will need to follow instructions on how to allow a non-apple software to be installed)
10) Once that is complete, reopen the easyFab.app continue by entering the License Key to finish the software installation.
The software can only be installed on one computer.
You will not be able to proceed with the download of the software unless you have registered it. It will also enable us to contact you if there are any updates to the software.
You will have three ways to receive your License Key for the software:
First at the end of the checkout process your Download Link and License Key will be available to you if you are ready to install the software right away.
Second, once your order is complete you will receive three separate emails, the last of which will contain the License Key and the Download Link for the software.
And finally you will always be able to go to My Account and under Downloads retrieve your Download Link and License Key.
In the third email you receive, just below the License Key, will be the option for either Windows Operating System or Mac Operating System. Select only one.
Please go to Contact Us and fill out a request to have the emails resent. But first check your spam mail to see if they were sent there.
Most of the time your software will automatically appear in your Download Folder on your computer. Once the Download is complete, select the file (win_easyfab_Deluxe or Basic) click on it and the installation process will start.
If you have an Anti-Virus Program running you might need to shut it off during this process. Sometimes they will ask you if you want to install a program from an unknown source? Reply yes.
Continue with the installation process by allowing default answers to all questions asked. At the end of the installation you will be asked to enter the License Key. The best way to do so is by copying and pasting the key from the email letter.
Q) How to I go through the process of purchasing, downloading and installing my software for Windows
We have prepared a detailed PDF for you to printout and follow with screen shots for installing easyFab Design Studio for both Deluxe & Basic Version. The screen shots you see are from Windows 7 so if you are installing on Windows 10 they might differ slightly. Installation Instructions for Windows
easyFab Design Studio is a closed program, therefore all additional libraries and templates will reside outside of the program.
The best place to download your new libraries is to your desktop. I recommend that your setup a folder and place all your libraries in one place for easy access.
To access your new library files use the “Browse” button at the end of each section inside the program. An example if you want to access a “Tree Template” which you have placed in a folder use the “Browse” button in the Template area to bring it in. If you are Designing a Template and you want to access one of the new fabric designs, you the “Browse” button to auto fill the design.
If your computer crashes you will need get a new License Key from us. We will provide you a new License Key one time for free, and after that a charge of $29 for the next one.
We will have to manually create this for you, so please go to Contact Us and provide the following information:
1. Name in which you registered the software
2. Email address you used to register the software with
We will then suspend your original License Key, and issue you a new one.
If this is the third License Key, we will need you to phone in a credit card for payment.
Once we suspend your original License Key it will no longer link to your account, so please keep it in a safe place.
First uninstall the program from your old computer. Through Contact Us let us know you are switching computers. You will need to provide us your name and email address you registered your software with. Next we will deactivate your License Key for you, then you can proceed to download your software on to your new computer and use the same License Key.
We will do this one time for you at no charge. After that it will cost $29 for each new License Key.
Go to My Account, select Orders, then find your software purchase and click on View next to your Order. The link to the downloads and your License Key will be there. Click on Pdf to view image of My Account: my_account
Go to My Account, click on Downloads and all your purchased libraries will be listed. Click on the link to download the libraries. View Pdf to see where to download:my_account
Templates
Our Quilting Block Templates enable you to easily print your photos, fabric, and block all at once! The fabric designs included in easyFab repeat directly into selected areas on the block. Once you print it on Inkjet Printable Fabric Sheets, all you need to do is stitch in the ditch to make it look like its pieced!
Yes you can use any of the Quilt Block Templates from Fabric Studio if you own it.
Fabric Studio will need to be installed on your computer in order to access the designs.
We have created a Video to help with this process.
To import a Fabric Studio template, first click on “Start New Project” then select option “Template”. At the bottom of your Template list, click on the “Browse” button and search for the Template on your computer that you wish to import.
In order to place your photos into your templates, you will need to remove any color (including white) down to the pixels. Use the “Magic Wand Tool” to do this.
If you are working on a quilt block that has multiple photos, it is best to edit and crop your photos before importing them into the software, if possible.
Yes, you are able to use both on any of the templates.
You are always able to fill an area in with either color or pattern if you don’t want to use a photo in that place.
You can always select another area on a Template to place your photo as long as it is completely surrounded by a solid line, and you remove the color from the area using the Magic Wand. You can then use the “Manage Layers” function to place the photo behind the template so that it fits seamlessly.
Toggle content goes here, click edit button to change this text.
The photo will just sit on top of the Template and not be able to be cropped.
When you save your Template, you will be given the option to change its size and resolution. Be careful not to enlarge your Template to much because you might start seeing pixilation of your photograph.
It is best to pick your Template and immediately go to Save Template and change the size or resolution before starting the design.
Make sure you setup a folder on your desktop and save that resized Template to that folder. The program automatically saves all files to the Program Files on your hard drive, and its very difficult to find your file if your not familiar with this process.
In order to have your Template register a different size:
First save your resized Template in a folder on your computer
Use the “Browse” button to bring the resized Template back into
the program
Make sure your resized Template matches your desired results
listed across the top of the work space
If they match you are ready to print your project
If you are using a custom size adjust printer settings
Use this simple line template to create a 8.5 by 8.5 image with your program .8.5_8.5_blank.
Download link, unzip and save to your desktop. To import template into the program, use the Browse Button under Templates.
I have created a simple 8.5 by 11 page with seam allowance for your use with the program. Click on download 8.5by11. Unzip file, save on desktop. To bring the file into the program use the Browse Button in the Template section of the program.
I am text block. Click edit button to change this text. Lorem ipsum dolor sit amet, consectetur adipiscing elit. Ut elit tellus, luctus nec ullamcorper mattis, pulvinar dapibus leo.
To print a single 5 by 7 inch image click on the download 5by7. Once you download the file, save to your desktop in a folder. To import the file into the program, first select Template, then click on Browse Button to open file.
If you have access to repeatable swatches you can bring them into the in Design your Template section. These designs need to be .png files, and they should be at least 150 DPI.
In the Design your Template section:
Go to the Browse Button find your image on your computer
then select your image then click on open
then click on the area of your project you want to fill
Repeat this process until you finish with that design
You can bring your own fabric designs into the program, but they will be treated like a photo and not repeat.
Repeatable Swatch
- Personalize your swatch with photos (single or multiple photos)
- Personalize your swatch with a single centered photo
- Personalize your swatch with text
- Start New Project
- Select “Personalize with Photos”
- Click on Design
- Insert Photos and Text
- Save Swatch
Examples of “Personalize with Photos”
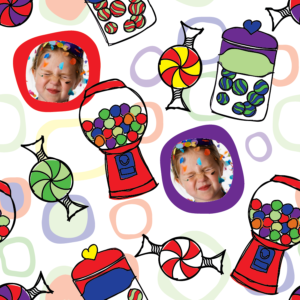
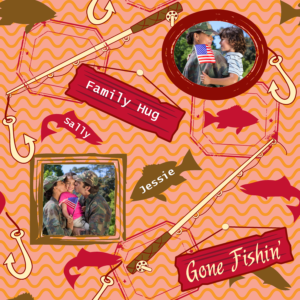
These Swatches are designed for Online Printing. If you select one of these designs you might not be happy with the results of just repeating the swatch in the program.
Start New Project
Select “Personalize with Single Photo”
Click on Design
Insert Photo and Text in Swatch
Save Swatch
Example of “Personalize with Single Photo”
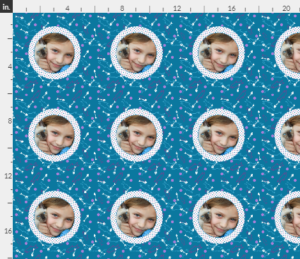
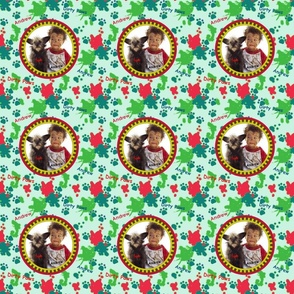
- Start New Project
- Select “Personalize with Text”
- Click on Design
- Insert Text into Swatch
- Save SwatchExamples of “Personalize with Text”
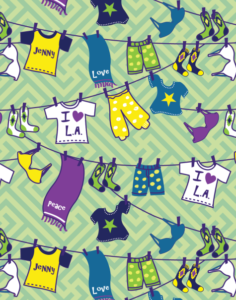
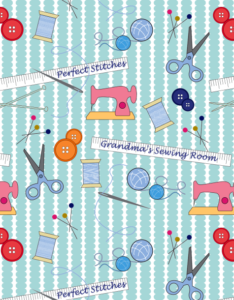
You can use different photos in each placeholder in the Swatch.
As present, you are not able to change the coloration of the Swatches.
The difference between the two types of designs becomes important when you have yardage printed. A single photo design has options for half drops, half bricks, mirror imaging and straight repeats. All other designs are printed as straight repeatable designs.
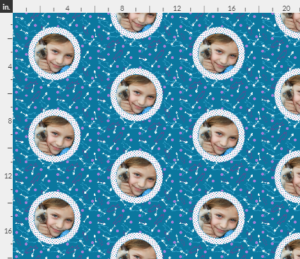
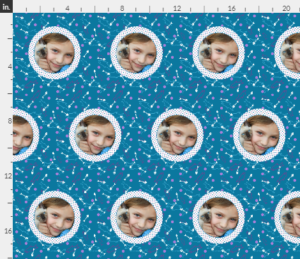
Yes, you can repeat a single photo design, but it will not have “movement” like other designs available in the software.
Once you are finished with your Design click on Save Swatch.
Next click on Create Your Design and a Workspace Size Box will appear.
The default is a standard 8.5 by 11 sheet repeat
If you wish to change the size of your Workspace adjust the Width and Height.
Your personalized swatch of fabric can be used with any of your Template Projects.
Complete your personalize swatch
Save Swatch to a folder
Click on Start New Project
Select your Template and Insert Photos
Proceed to Design Your Template
Use the Browse Button at the bottom of this section import your personalized swatch you designed
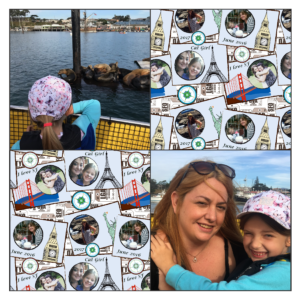
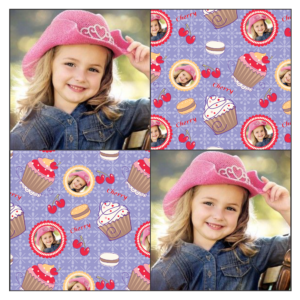
I recommend Spoonflower and Fabric on Demand, but if you do your own research you may other excellent options for printing yardage.
Our file type is .png which is accepted by almost all online printers.
Our graphics are 300 dpi, and the online printers will only accept 150 dpi. You need to change the resolution from 300 dpi to 150 dpi when you save your design with the software.
Design Your Own
You final Swatch size is 3” by 3”.
Yes, you can use either for your design background.
You are not limited on the number of designs, but try not to overcrowd the Swatch.
Once your initial design is done and the software creates a seamless Swatch, you will be given the opportunity to insert a photo and add text to your design.
You will need to remove the color with the “Magic Wand” tool before adding a photo. However, it can be very difficult to do this on some designs, depending on how the graphic is created.
Once the software creates the Swatch, you will have the option to “Create Your Design”. At that point, it can be printed.